
leak detection
Water Leakage From Ceiling: Hidden Damage Signs Before Structural Failure
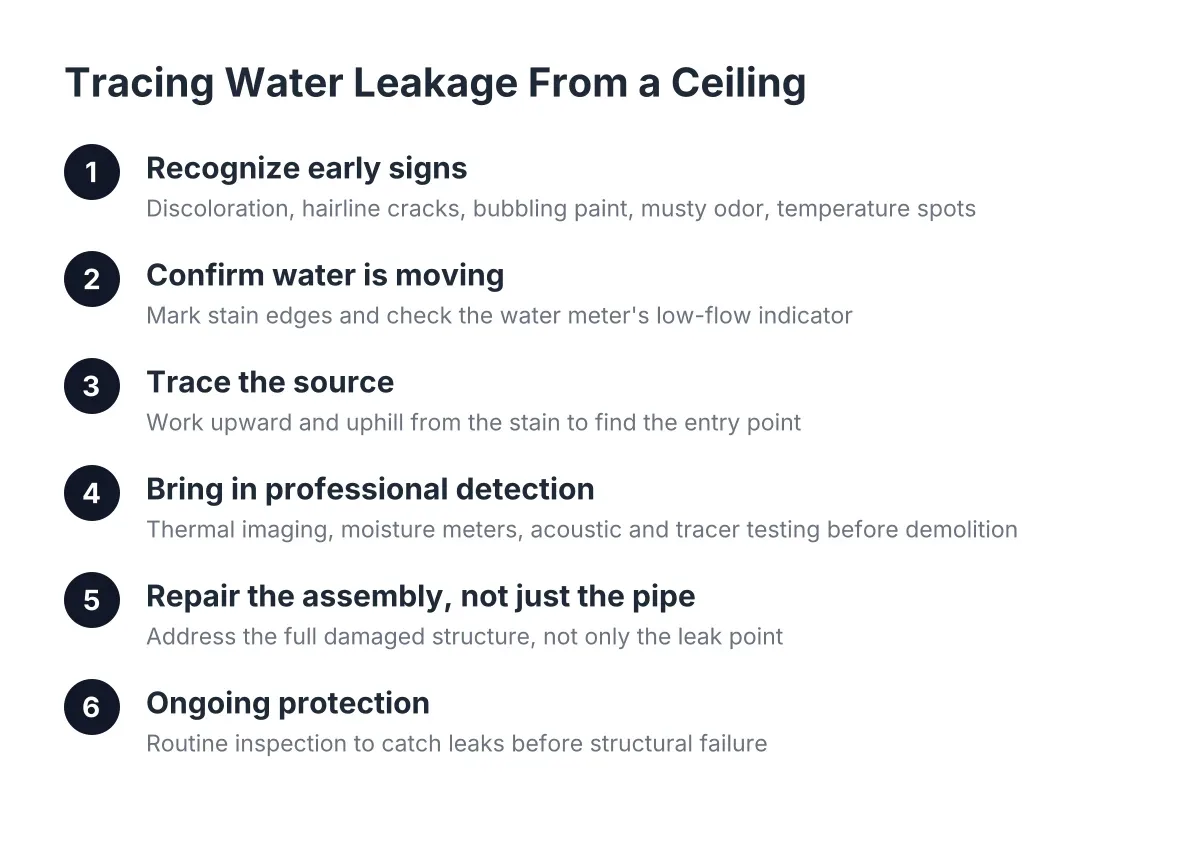
Water leakage from a ceiling is almost never the beginning of the problem. By the time a stain blooms on a plaster ceiling in an architecturally significant home, water has usually been moving through the structure for weeks or months. The drip is the last chapter. The damage to framing, sheathing, and finishes was written earlier, out of sight. This guide walks through how to read the early signs, trace the source, and treat moisture intrusion as preventive estate care rather than a reactive plumbing visit.
The stakes are higher in a custom home than in a production house. A ceiling built to the architect's drawings, with a flush reveal, integral plaster, or a suspended installation above the dining table, cannot be patched with a square of drywall and a coat of flat white. Finding the leak early protects the structure and the intent behind it.
According to the U.S. Environmental Protection Agency, ten percent of U.S. homes have leaks severe enough to waste 90 gallons or more of water per day. Most of those homeowners do not know it yet. The house does not announce a leak. It whispers first.
Step 1: Recognizing Early Signs of Water Leaking From Your Ceiling
The signs of a hidden water leak appear long before water drips from a ceiling. Look for faint discoloration at drywall seams, hairline cracking in plaster, paint that bubbles or loses adhesion, a musty odor in a closet or stairwell, and warm or cool spots on a ceiling that do not match the room. Any one of these justifies investigation.
In older homes, especially pre-war construction on the Westside, moisture damage hides well. Lath-and-plaster ceilings absorb water and hold it, so the first visible sign may be a crack rather than a stain. Original framing shrugs off a single wetting event, but repeated cycles invite dry rot, and dry rot spreads quietly through sills, headers, and window framing.
Walk the house with intent twice a year. Check the ceilings below every bathroom, below the roof's valleys and penetrations, and around skylights. Open the cabinets under sinks. Run a hand along baseboards near exterior walls after the first heavy rain. The inspection costs an hour. The alternative costs framing.
Step 2: Confirm Whether Water Is Actually Moving
Before opening anything, confirm the leak is active. A stain can be historic; a previous owner's roof repair may have left evidence without an ongoing problem. The test is simple. Mark the edge of the stain in pencil, photograph it, and check again after the next rain or the next week of normal plumbing use.
Your water meter is the second tool. Shut off every fixture and appliance, then watch the meter's low-flow indicator for ten minutes. Movement means water is escaping somewhere between the meter and the fixtures. The U.S. Environmental Protection Agency reports that the average household's plumbing leaks waste more than 10,000 gallons of water every year, and much of that volume moves through walls and ceilings without a visible trace.
If the meter runs with everything off but no interior sign appears, the loss may be outside the envelope. Knowing how to find a water leak underground starts the same way: isolate the irrigation system at its valve, retest the meter, and compare. A line feeding a fountain, a pool autofill, or hardscape irrigation can leak for a season under a motor court before anyone notices.
Step 3: How to Trace Water Leakage From Your Ceiling to Its Source
To trace the source of water leaking from a ceiling, start from the stain and work upward and uphill, because water travels along framing and pipe runs before it drops. The wet spot marks where water exits the assembly, not where it enters. The entry point is often six to twenty feet away.
Sort the suspects by what sits above the stain:
- Bathroom above: Water leaking from a ceiling under a bathroom usually points to a failed shower pan, a compromised tile assembly, a toilet wax ring, or a supply or drain connection. Pressurized supply lines leak constantly; drains leak only during use. Run each fixture in isolation and watch.
- Roof above: Water leaking from a ceiling when it rains, and only when it rains, points to the roof or flashing. Knowing how to find a roof leak means checking penetrations first: skylights, vents, chimneys, and the transitions where a flat roof meets a parapet. Modern architectural roofs with minimal slope and hidden drainage are elegant and unforgiving.
- Mechanical above: A condensate line from an air handler in the attic can produce a slow, seasonal stain that mimics a roof leak but appears in summer.
- Fixture penetrations: Water leakage from a ceiling light or a ceiling fan is a specific warning. Water follows wiring and conduit to the lowest opening. Kill the circuit at the panel before touching anything, and treat the fixture as the exit, not the source.
Timing is evidence. A leak that tracks rainfall is envelope. A leak that tracks occupancy is plumbing. Additionally, a leak that tracks the thermostat is mechanical. Write down when the stain grows, and the pattern will narrow the search before anyone opens a wall.
Step 4: Bring In Professional Leak Detection Before Opening Finishes
In a home with integral plaster, bookmatched stone, custom millwork, or art hung from structure, exploratory demolition is the wrong first move. Professional leak detection locates the source without sacrificing finishes. Thermal imaging reads temperature differences behind drywall and plaster. Moisture meters map how far saturation has traveled. Acoustic equipment finds pressurized line failures under slabs. Tracer testing isolates drain leaks fixture by fixture.
This matters for the architect as much as the owner. When a contractor opens three speculative holes in a coffered ceiling to chase a drip, the architect's detail pays the price and the client watches it happen. Precision diagnosis first, one deliberate opening second, is the discipline that keeps the drawings intact. On a project where sculpture is suspended from engineered attachment points, knowing exactly where moisture has reached the framing is not optional; it is structural due diligence.
There is a limit worth stating plainly. No instrument sees everything, and a leak that only presents under specific wind-driven rain may need controlled water testing over several visits to reproduce. A homeowner can handle the observation steps above, but once the trail leads behind finished surfaces or into structure, this is work for a contractor who understands both the building and the architecture.
Step 5: Repair the Assembly, Not Just the Pipe
Water intrusion repair has two halves, and the second is the one most often shortchanged. Stopping the water is half the work; restoring every layer the water touched is the other half. A proper repair sequence runs:
- Eliminate the source: repipe the failed section, rebuild the flashing, or reset the pan.
- Dry the cavity completely, verified by meter readings, not by appearance.
- Replace compromised material: insulation, sheathing, and any framing with dry rot, back to sound wood.
- Restore finishes to match the original specification, whether that is Venetian plaster, a painted reveal, or a flush ceiling plane built to the drawings.
Suppose, as an illustrative case, a 1990s hillside home has a second-floor bath over a double-height living room with a plaster ceiling. A slow drain leak has stained a four-foot circle. The pipe repair itself might take a day. The drying, rot assessment, and plaster restoration to match the original texture and sheen could run three to four weeks, as a realistic estimate. That gap between fixing the pipe and finishing the ceiling is where ordinary builders stop and where the real work begins.
Step 6: Ongoing Protection Against Water Leakage From the Ceiling
The lasting solution to water leakage from a ceiling is making sure the next leak never reaches the ceiling at all. Proactive leak monitoring has matured. In-line water shutoff devices watch flow patterns and close the main automatically when they detect an anomaly. A 2020 LexisNexis Risk Solutions study of 2,306 homes found that installing an in-line water shutoff device correlated with a 96% reduction in escape-of-water insurance claim events. For a home holding a collection, that number deserves attention.
Hardware is one layer. Routine is the other. A seasonal regimen covers roof and flashing inspection before the rains, drain and pan testing in each bath, irrigation isolation tests, and moisture readings at known vulnerable points. This is the logic behind estate management as Dick Minium Construction practices it: the house is watched, the trades are scheduled, and small failures are caught at the stain-free stage. One call covers the inspection, the diagnosis, and the repair, and the owner and architect both know the detail work will survive the fix.
A ceiling stain is information. Read it early, trace it precisely, repair the full assembly, and then build the watch that keeps it from happening again. That is the difference between maintaining a house and keeping an architecturally significant home ready.
If this is the work you are planning, Dick Minium Construction is one call away: 310.392.6622.
Prefer to talk it through? Call (310) 392-6622 — a quick call is usually the fastest way to get a straight answer for your situation.